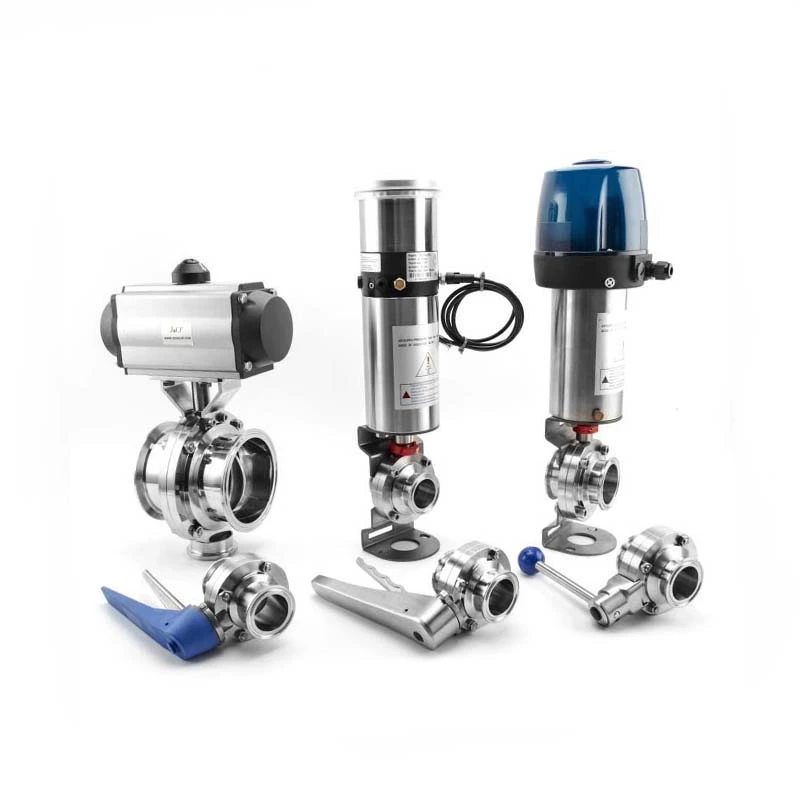
How To Install Sanitary Butterfly Valve?
The installation of Sanitary Butterfly Valve involves multiple steps. Here is a general installation process:
Preparation: Before installation, make sure all the necessary tools and materials are ready.
Inspection: Carefully inspect the appearance of the butterfly valve to ensure that there is no damage. Also, make sure that the pipe where it is to be installed is clean and free of residue.
Positioning: Place the butterfly valve where it is to be installed, ensuring that the butterfly valve is in the correct direction.
Installation: Follow the installation guide to fix the butterfly valve to the pipe. Usually, specific screws or other fasteners are required.
Testing: After installation, test to ensure that the butterfly valve is working properly.
The specific steps may vary depending on the valve type, size, specific application, etc. In actual operation, the installation guide and operating specifications provided by the manufacturer should be followed to install the valve safely and correctly. At the same time, if the valve requires specific installation tools or training, it should be operated by a professional.