Installation, Maintenance And Troubleshooting Of Sanitary Quick-install Diaphragm Valves
Installation, maintenance and troubleshooting of Sanitary Diaphragm Valve
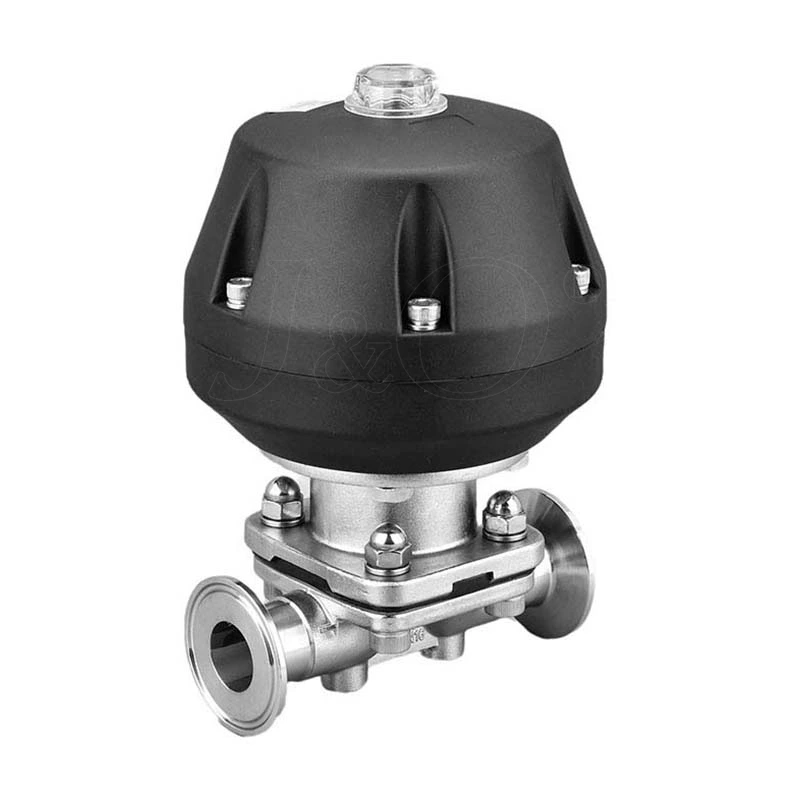
Installation and maintenance
1. Before installation, carefully check whether the operating conditions of the pipeline are consistent with the applicable scope specified by this valve, and clean the inner cavity to prevent dirt from blocking or damaging the sealing parts.
2. Do not apply grease or oil to the surface of the rubber lining laminated rubber diaphragm to prevent rubber swelling and affect the service life of the valve.
3. During installation, the thread must not be tied to the handwheel or valve stem to lift the valve.
4. When manually operating the valve, do not use auxiliary levers to prevent excessive torque from damaging the drive components or sealing parts.
5. The valve should be stored in a dry and ventilated room. Stacking is strictly prohibited. The channels at both ends of the stock valve must be sealed, and the opening and closing parts should be in a slightly open state.
Faults and elimination
Possible causes of faults Elimination methods
Handwheel operation is not flexible 1. Valve stem is bent
2. Thread damage 1 Replace the valve stem
2. Repair the threads and add lubricating oil
The valve cannot open and close automatically when pneumatic 1. The air source pressure is too low
2. The spring preload is too large
3. The rubber diaphragm is damaged 1. Increase the air supply pressure
2. Reduce the spring preload
3. Replace the diaphragm
Leakage at the connection between the valve body and the valve cover 1. The connecting bolts are loose
2. The rubber lining of the valve body is broken 1. Tighten the connecting bolts
2. Replace the valve body