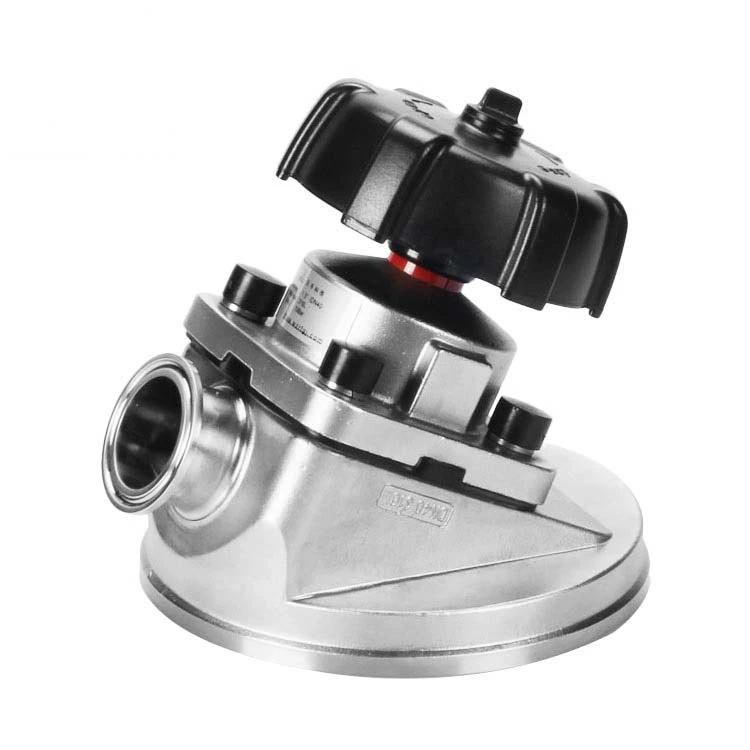
Installation Of Sanitary Diaphragm Valve
When installing Sanitary Diaphragm Valve, special attention should be paid to its high cleanliness and sealing requirements to ensure that the valve can operate normally and meet hygiene standards. The following are the key steps in the installation process:
Preparation before installation:
Check that the valve appearance is not damaged, and the diaphragm and seals are intact.
Check whether the valve model and specifications meet the design requirements.
Use a clean cloth or alcohol to wipe the inner and outer surfaces of the valve to ensure that there are no dust, oil and other pollutants.
Clean the pipeline to ensure that there are no impurities, welding slag, oil and other contaminants in the pipeline, and flush or blow if necessary.
Installation steps:
Determine the flow direction and install it correctly according to the flow direction mark on the valve.
Connect and fix the valve correctly to avoid stress during installation.
Inspection and testing:
Perform a sealing test to ensure that the valve is leak-free.
Perform an operation test to ensure that the valve is flexible and smooth to the touch.
Precautions:
Avoid contaminating the valve and pipeline, and keep the installation environment clean and tidy. Avoid over-tightening that may cause valve damage or poor sealing.
Regularly inspect and maintain valves, including cleaning, replacing diaphragms, and checking sealing performance.
In summary, when purchasing and installing sanitary diaphragm valves, it is necessary to comprehensively consider factors such as materials, flow and pressure conditions, sealing performance, structural form and design, applicable occasions, and suppliers and brands, and follow strict installation steps and precautions to ensure the normal operation of the valve and meet hygiene standards.
