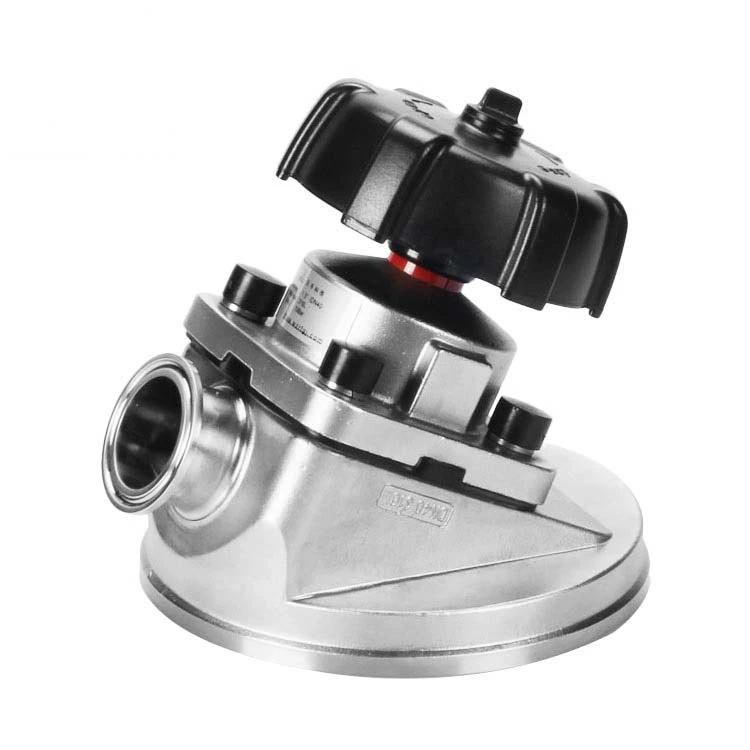
Manual Diaphragm Valve Operation And Installation
Sanitary Diaphragm Valve Operation and Installation
Preparation before installation of manual diaphragm valve:
1. Before installation, check whether the specifications and materials of the diaphragm valve are consistent with the design.
2. Before installation, clean up the sand, foreign matter and debris inside to avoid improper operation or leakage.
3. Before installation, the relevant piping should be properly suspended and fixed according to the regulations to avoid improper stress on the valve after installation.
4. The two flange surfaces of the piping must be parallel and concentric.
5. During installation, a gasket must be installed between the diaphragm valve and the flange.
Installation steps of manual diaphragm valve:
1. Before installation, clean up the sand, foreign matter and debris inside.
2. Set the auxiliary screws at the appropriate position to adjust the distance between the two flange surfaces.
3. Insert the diaphragm valve without touching the two flange surfaces and insert the remaining bolts at the same time.
4. Make sure that the center of the diaphragm valve is concentric with the center of the flange and tighten each bolt repeatedly in a diagonal progressive manner until the flange surface contacts the end face of the valve body. Manual diaphragm valve operation:
1. Before starting the operation, use air spray to remove foreign objects on the piping, and clean the inside of the piping with clean water.
2. Open the valve to check the angle indicator disk, and avoid twisting beyond the opening width and the closing position.
3. The operation of the switch is based on the indicator. If other hand tools are used to apply force, the angle indicator disk and the switch will be damaged.
4. When doing a piping pressure test, the valve should be opened.
5. After piping, if it is in a fully closed state for a long time, the switch action should be performed 1~2 times a month to avoid sticking.
