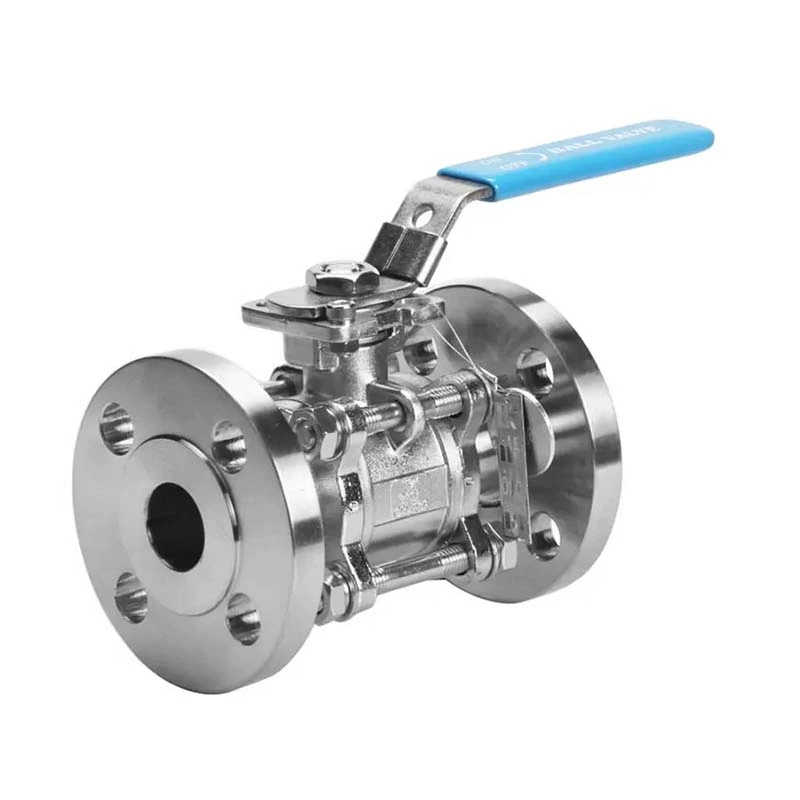
What Are The Steps To Install A Sanitary Ball Valve?
Sanitary Ball Valve is mainly used to cut off or connect the medium in the pipeline, and can also be used for fluid regulation and control. So do you know what are the steps for installing a sanitary ball valve?
The steps for installing a sanitary ball valve are as follows:
1. It is necessary to remove the protective covers on both sides of the flange end, and then flush and clean the valve body of the sanitary ball valve when it is opened.
2. Before installation, the whole machine must be tested according to the specified signal, and only after passing the test can it be installed online.
3. When preparing for the revolutionary pipeline connection, you must first flush and remove the impurities remaining in the clean pipeline.
4. During the installation, do not use the actuator part of the ball valve as a lifting point to prevent damage to the actuator and accessories.
5. This type of sanitary ball valve should be installed in the horizontal or vertical direction of the pipeline.
6. After connecting to the pipeline, you can use the specified torque to cross-lock the flange and connect the bolts.
7. The pipeline near the installation point of the stainless steel ball valve should not be drooped or subjected to external forces. You can use a pipe bracket or support to remove the deviation of the pipeline.
Sanitary ball valve is a type of valve. Sanitary ball valve is mainly used to cut off or connect the medium in the pipeline. Sanitary ball valve can be made of 304SS, 304L or 316, 316L stainless steel, while industrial valves can be made of cast iron, cast steel, ductile iron, stainless steel, and a wider range of materials.
